Proper waterproofing prevents water damage and costly repairs during bathroom renovations. A successful waterproofing shower remodel protects your home from moisture problems that lead to mold growth and structural issues. The right materials and installation methods create a fully waterproof shower that lasts for years.
Converting a tub to a walk in shower requires careful attention to waterproofing layers. Water seeps through the smallest gaps and causes expensive repairs when moisture reaches bathroom walls and the bathroom floor beneath your shower enclosure. Professional contractors use tested systems from manufacturers like Schluter Systems to ensure complete protection.
Homeowners who plan a diy bathroom remodel need to understand waterproof membrane options and installation techniques. The materials you choose and how you install them determine whether your shower stays dry or develops leaks. The Complete Guide to Tub-to-Shower Conversions covers the full process, while this article focuses on waterproofing essentials that protect your investment.
Modern waterproofing systems offer superior protection compared to traditional methods. Sheet membrane products and liquid membranes provide reliable barriers against excess moisture in wet environments. Understanding these options helps you select the right approach for your bathroom renovations and avoid common pitfalls that lead to moisture damage.
Why Waterproofing Shower Remodel Matters
Water penetrates grout joints, seams, and corners in tile shower installations without proper waterproofing. Moisture collects behind walls and under the shower pan where you cannot see the damage developing. Mildew growth begins within days when water reaches organic materials like wood framing or drywall.
The bathroom creates wet areas that expose surfaces to more water than any other room in your home. Steam, splashing, and direct contact from shower heads deliver constant moisture to walls, floors, and corners. A waterproof membrane blocks this moisture before it causes problems.
Quick tip: Water damage often remains hidden for months before visible signs appear. Professional waterproofing prevents problems rather than forcing you to pay for major repairs later.
According to the National Association of Home Builders, proper moisture management extends the lifespan of bathroom materials and protects home value. Investing in quality waterproofing materials and correct installation techniques saves money in the long haul by preventing expensive repairs and premature replacement of shower components.
What Are Your Shower Waterproofing Options?
Three main approaches protect showers from moisture damage. Sheet membrane systems, liquid membranes, and foam board products each offer distinct benefits for bathroom waterproofing. The method you select depends on your budget, timeline, and skill level.
Sheet Membrane Systems
Sheet membrane products come in rolls that you cut and install over cement board or other backing materials. These systems use seam tape to connect pieces and create a continuous waterproof barrier. Schluter Systems dominates this market with their Kerdi membrane line that professionals trust for reliability.
Installation requires applying thin-set mortar to your substrate, then embedding the membrane into the wet material. Seam tape bonds overlapping sections at joints and corners. The process demands attention to detail but creates a durable waterproof layer when done correctly.
Did you know? Waterproof shower membranes can be installed over various substrates including cement board, plywood, and existing tile. This flexibility makes them popular for both new construction and bathroom renovations.
How Do Liquid Membranes Work?
Liquid membranes provide painted-on protection that eliminates seams and creates seamless coverage. You apply these products with a paint roller in two coats, allowing proper drying time between applications. The material flows into corners and around fixtures to seal wet areas completely.
This method works well for complex spaces with many penetrations or irregular shapes. Liquid membranes conform to any surface and create a waterproof sealant that bonds to cement board, concrete, and other approved substrates. Some products cure quickly while others require extended drying time before you can apply tile.
The application process proves more time consuming than sheet membranes because each layer must dry completely. However, liquid membranes eliminate concerns about seam tape failures and offer excellent protection in corners where sheet products can be tricky to install.
Kerdi Board Solutions
Kerdi Board combines backing material with integrated waterproofing in foam panels that simplify shower construction. These lightweight boards replace traditional cement board and eliminate the need for separate waterproof membrane installation. The blue or green foam core provides thermal insulation while the bonded waterproof layer protects against moisture.
Cutting Kerdi Board requires only a utility knife rather than specialized tools for cement board. Panels attach directly to studs with screws and washers, then joints receive Kerdi Band to seal connections. This integrated approach saves time and reduces the number of materials needed for your project.
Schluter Products developed Kerdi Board to streamline bathroom remodels while maintaining waterproofing standards. The system includes coordinating components for shower pans, benches, and niches that work together seamlessly. Many contractors prefer this method for its simplicity and consistent results.
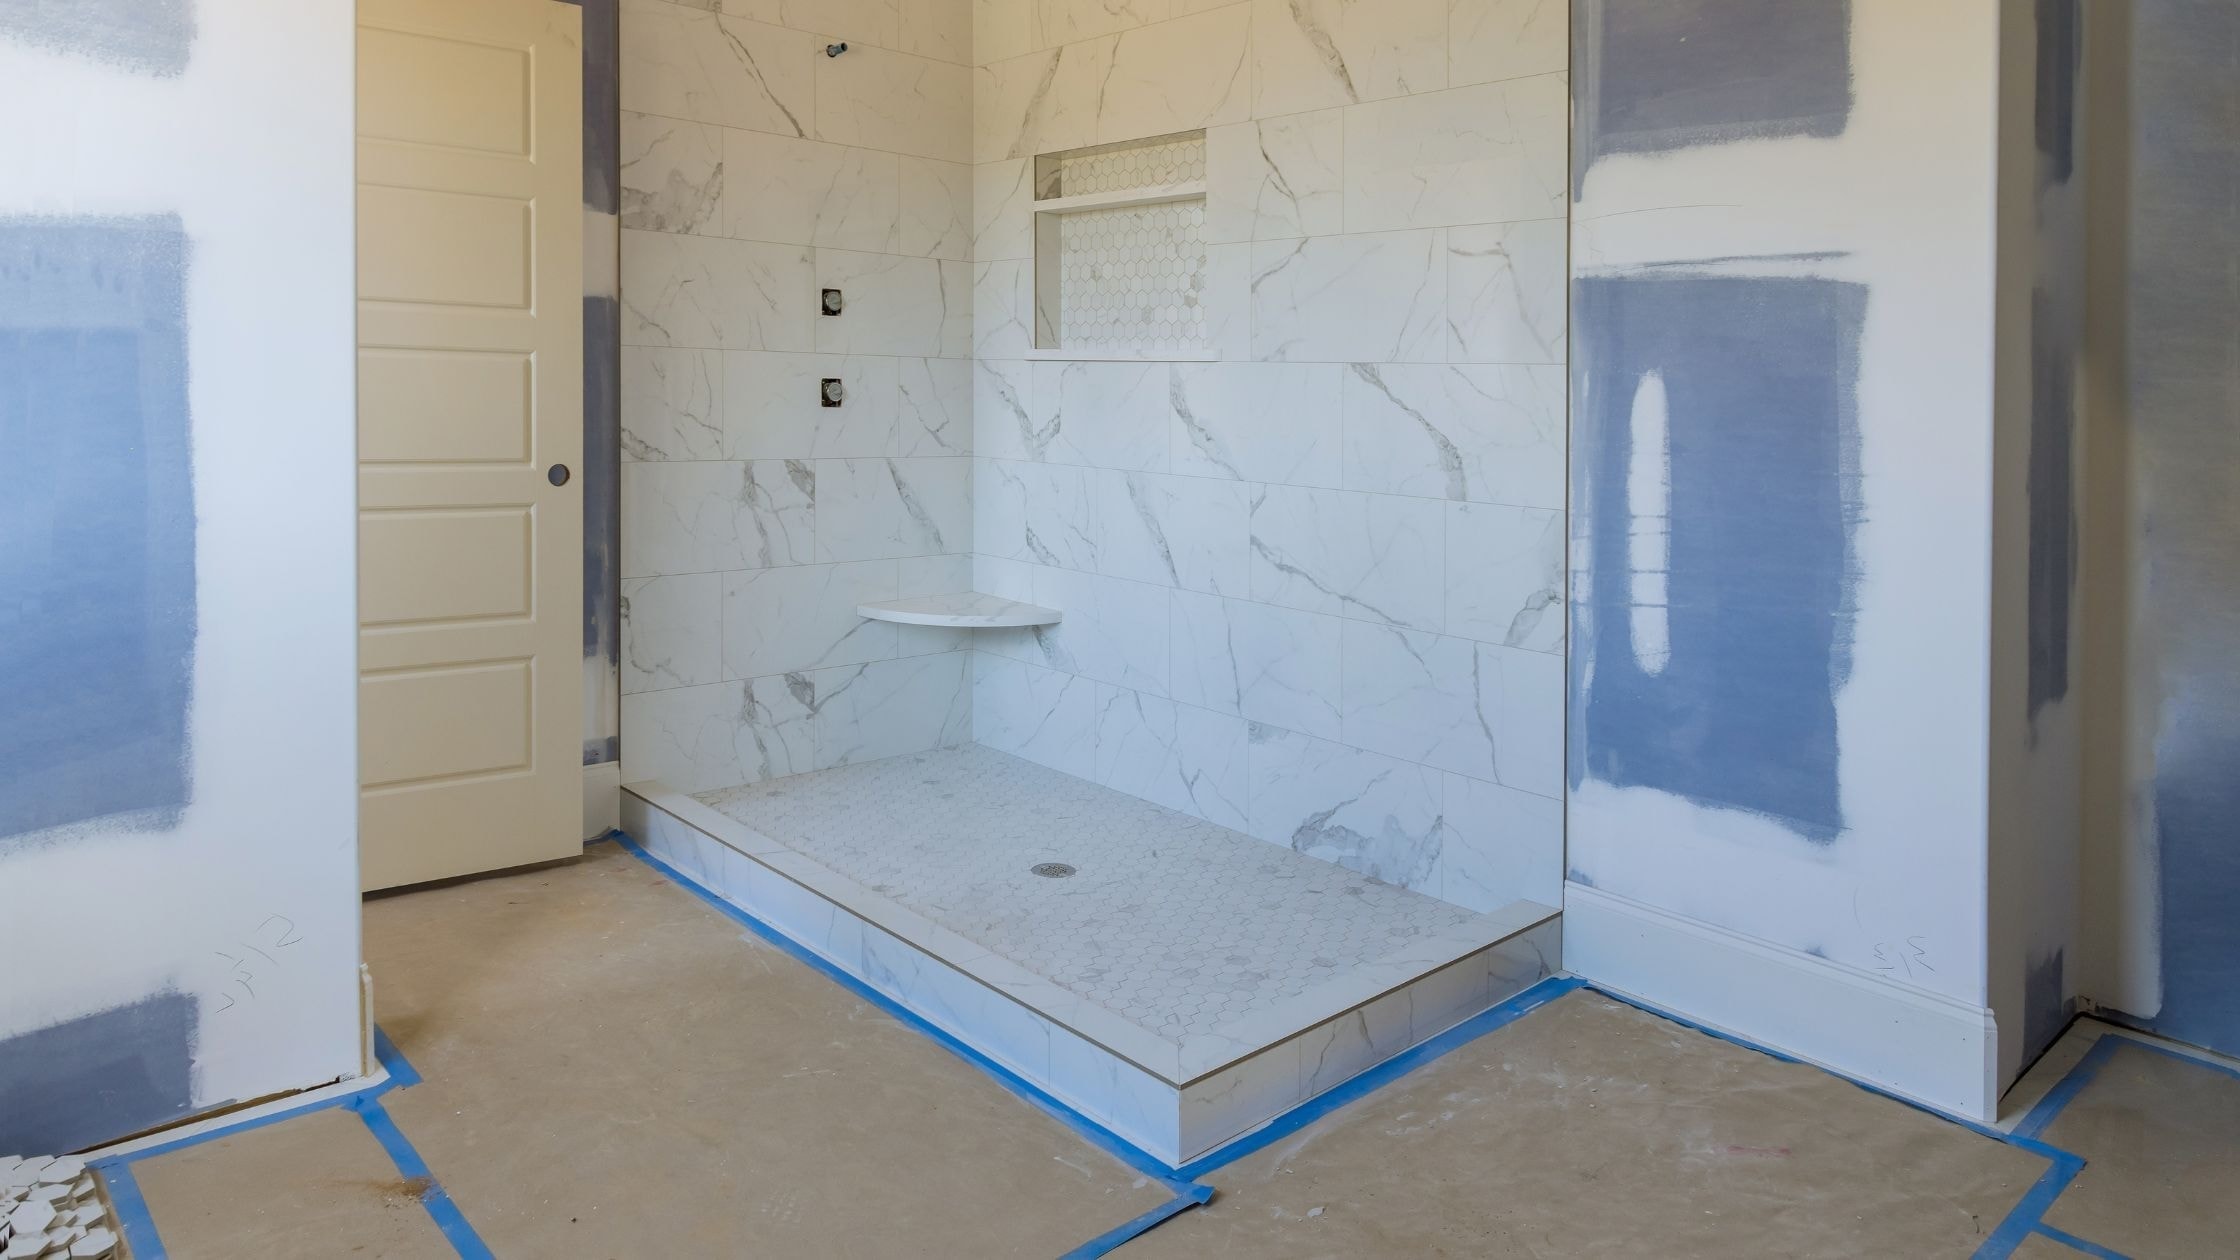
How Do You Choose the Right Shower Pan?
The shower pan forms the foundation of your waterproofing system and determines drainage performance. Three options dominate the market for walk in shower installations. Prefabricated shower pan units offer the fastest installation, while traditional mud bed pans provide custom slopes, and foam pans from companies like Schluter Systems balance convenience with flexibility.
A prefabricated shower pan arrives ready to install with pre-sloped surfaces and integrated drains. These units work well for standard sizes and eliminate the skill required to build up proper drainage slopes. Manufacturers use durable plastic or composite materials that resist cracking and flexing.
Custom mud bed pans use mortar to create slopes toward the drain. This traditional method accommodates any size or shape but requires expertise to achieve proper pitch and create a sealed base. The process takes longer and demands more labor than prefabricated options.
Foam shower pan systems from Schluter Systems provide middle-ground solutions. These lightweight panels come in standard sizes but allow customization through cutting and combining pieces. The integrated waterproofing eliminates concerns about liner failures common with traditional mud beds. Installation proves faster than mud work while offering more size options than prefabricated units.
Critical Installation Steps
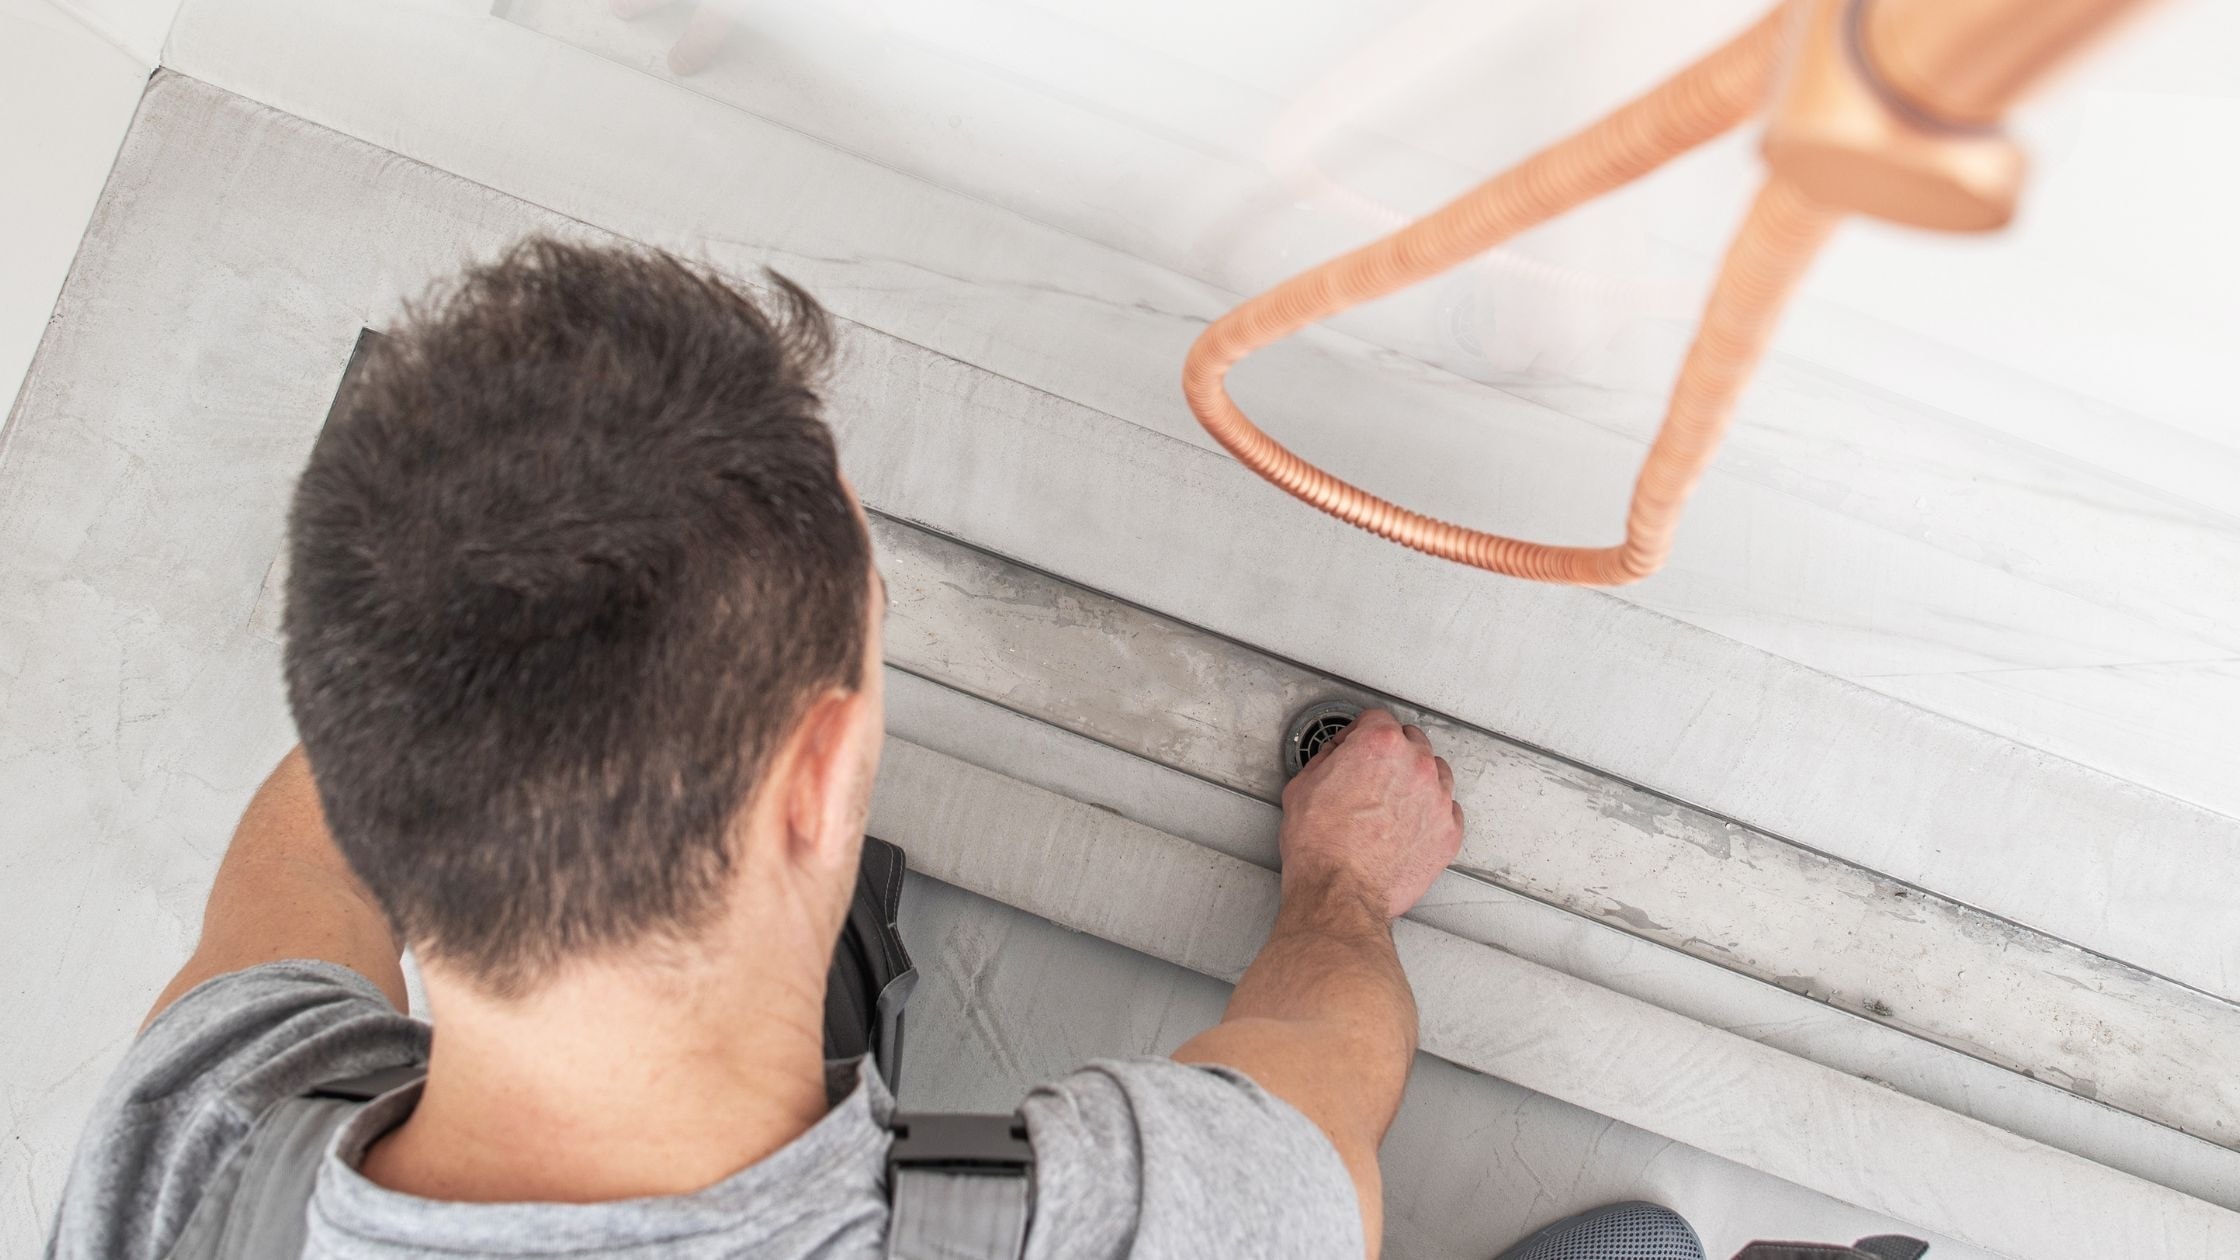
Proper shower pan installation begins with level subflooring and correct drain placement. The connection between your pan and drain assembly must seal completely to prevent leaks. Many professionals use a two-part drain system that clamps the waterproof membrane between upper and lower components.
Setting the pan involves these key steps:
- Verify the subfloor sits level and the drain height matches your pan requirements
- Apply thin-set mortar or recommended adhesive to bond the pan to the floor
- Connect the drain assembly according to manufacturer specifications
- Seal all seams and penetrations with appropriate products
- Allow proper curing time before proceeding with tile installation
Quick tip: Test your shower pan for leaks before installing tile. Fill the pan with water and check for moisture around the drain and edges after several hours.
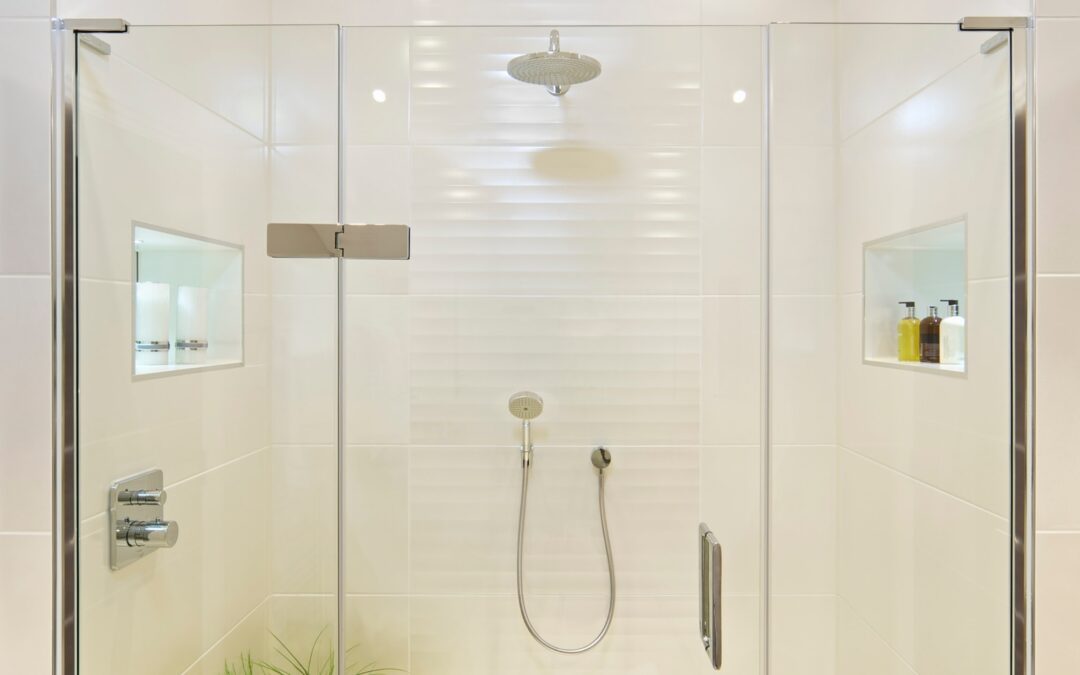
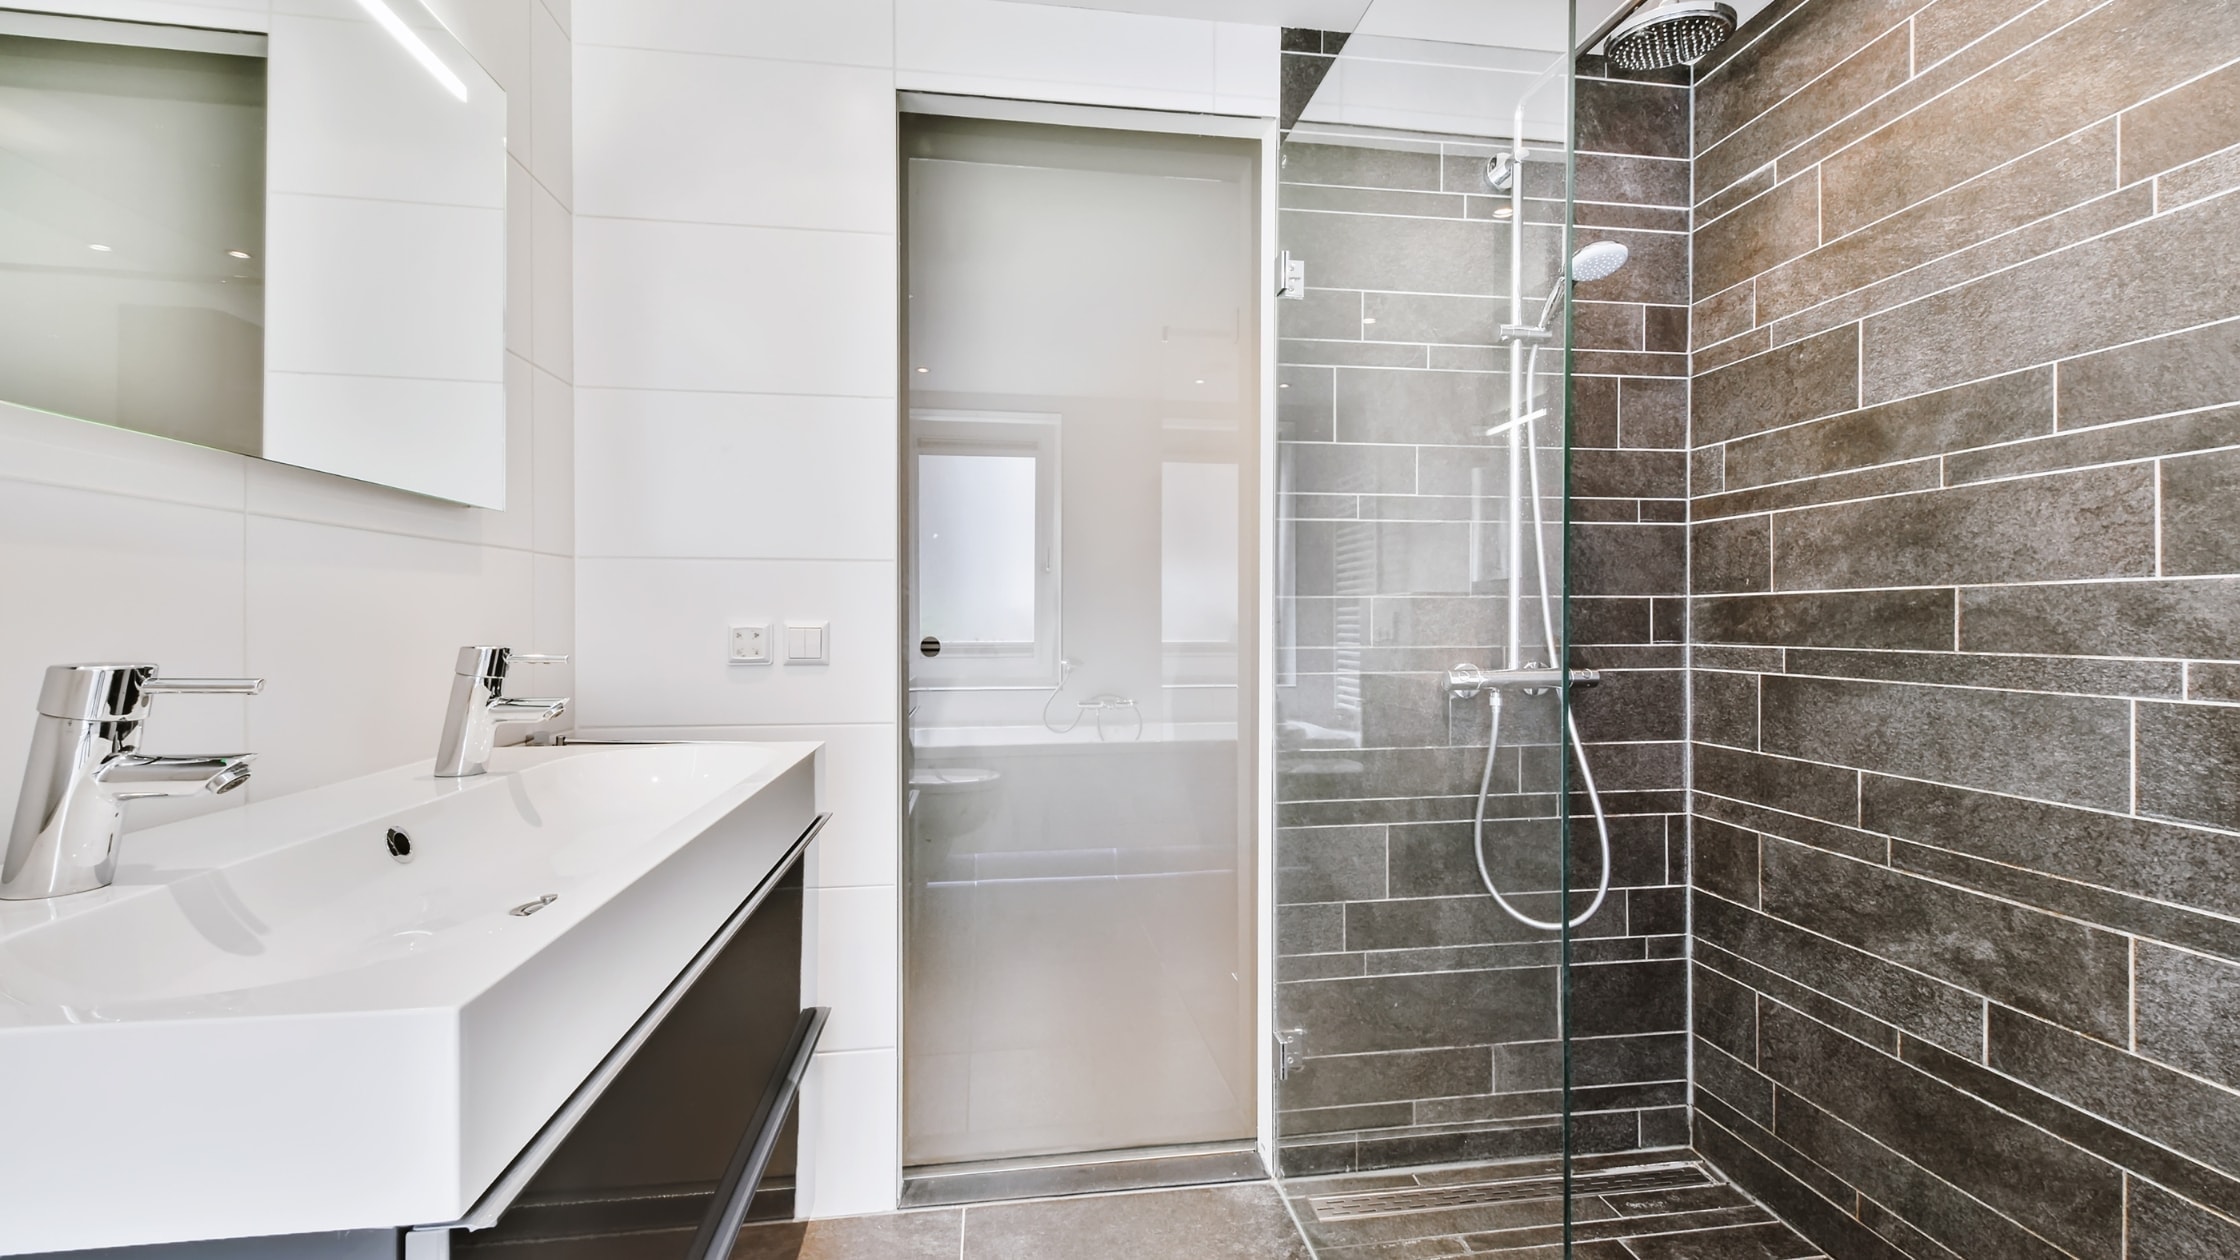
Protecting Your Shower Walls from Water Damage
Shower walls face constant exposure to water and steam that drives moisture into vulnerable areas. The walls of your shower enclosure need protection from the ceiling down to where they meet the shower pan. Waterproofing must extend beyond the immediate wet area to prevent moisture damage in adjacent spaces.
Cement board provides a stable substrate for tile shower installations but offers no waterproofing properties on its own. Water passes through cement board and reaches whatever material sits behind it. Applying a waterproof membrane over cement board creates the barrier that protects your walls from moisture problems.
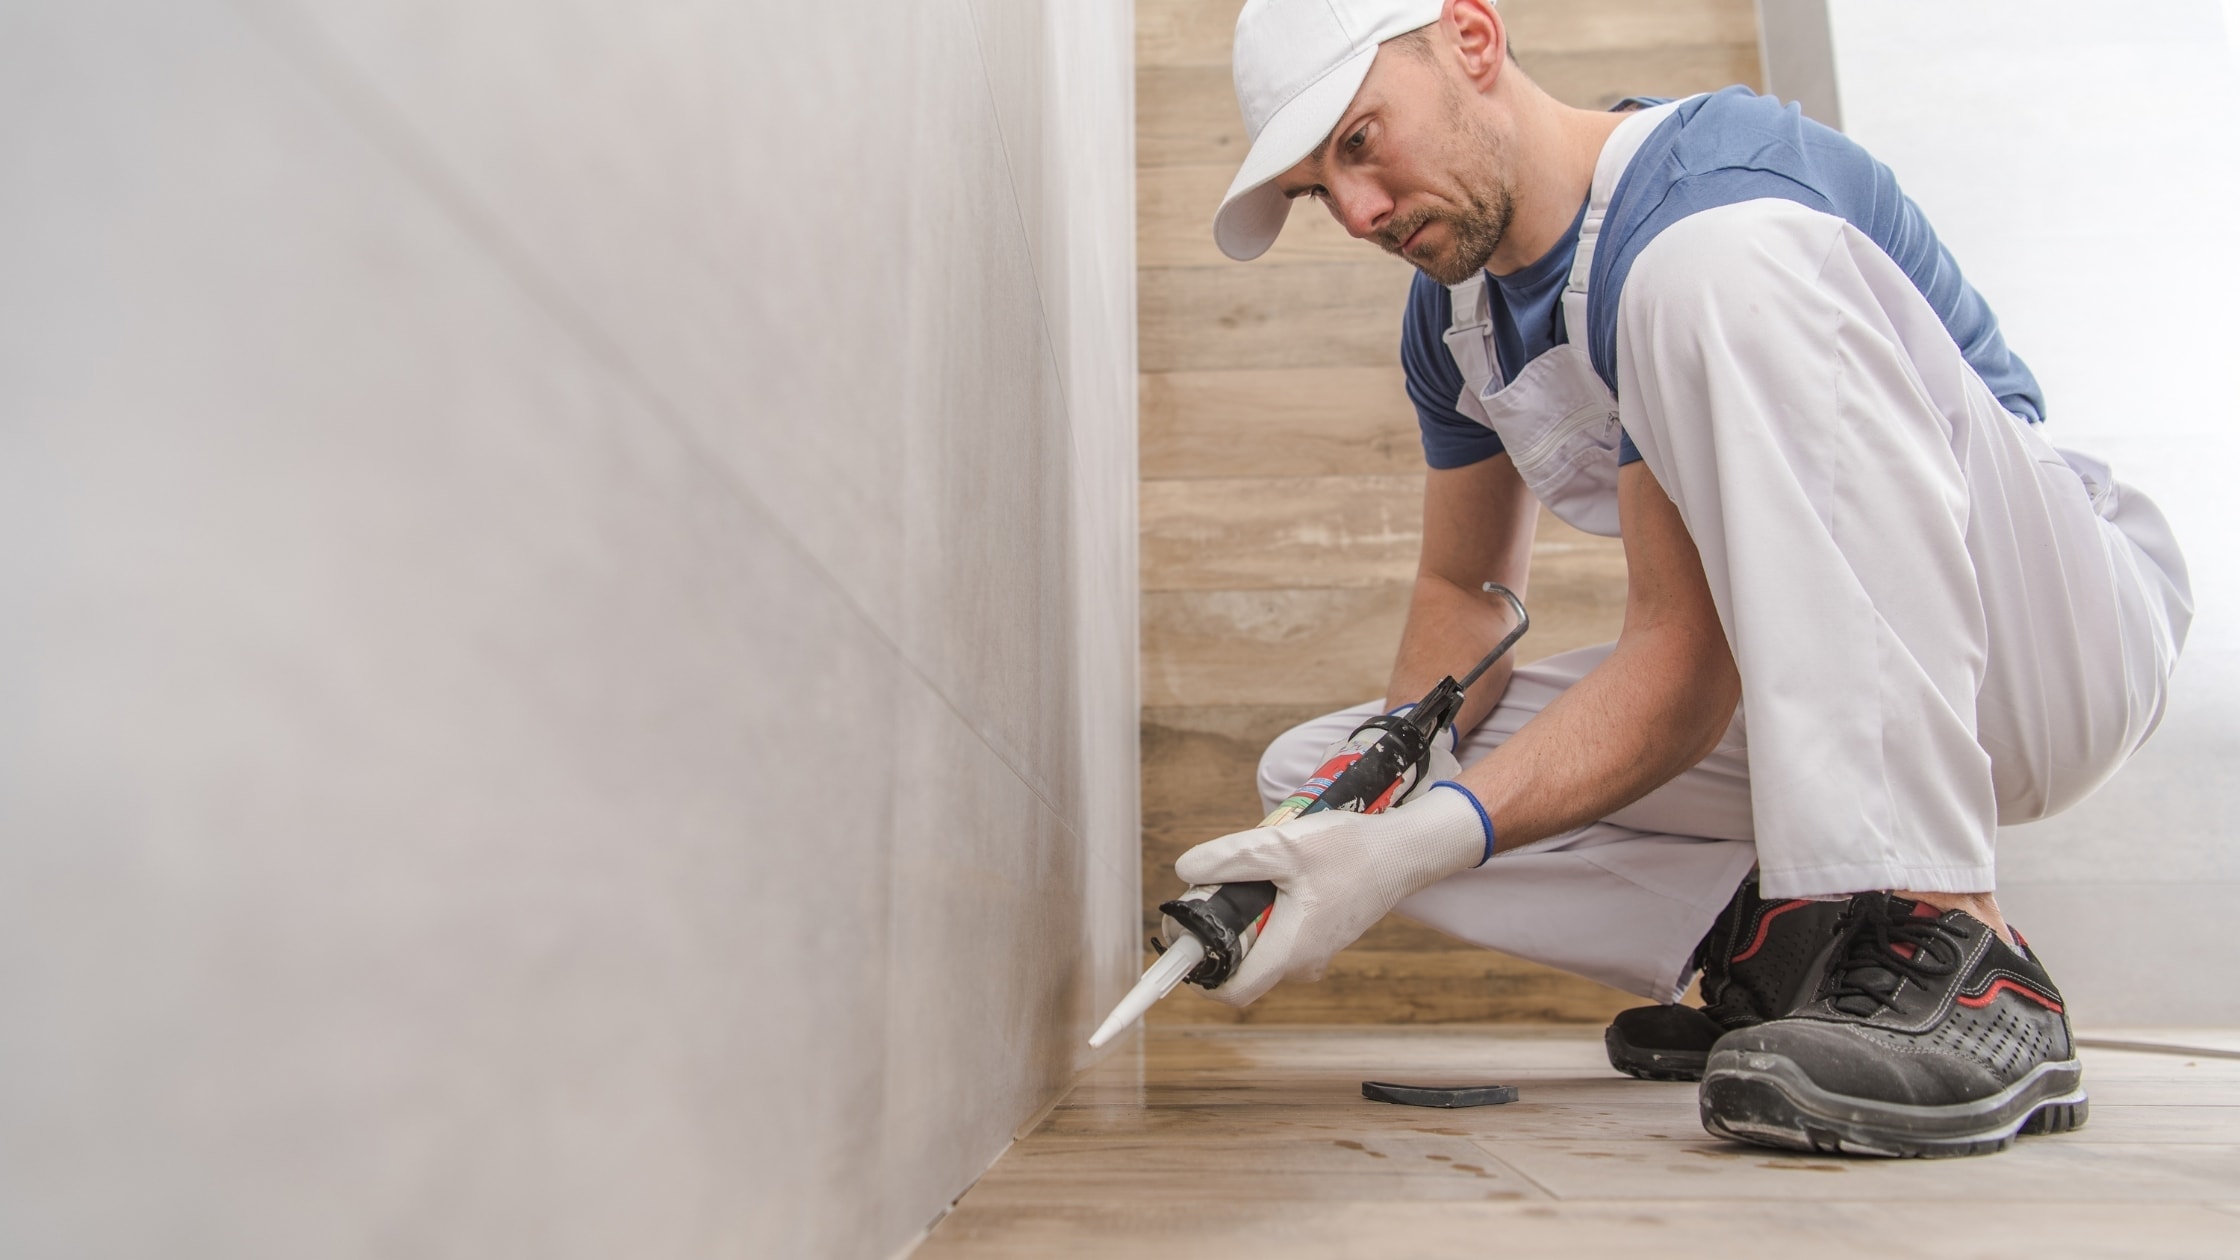
The membrane should extend at least six inches beyond the shower enclosure on all sides. Inside corners receive special attention because water collects in these locations. Outside corners need protection where the shower meets other walls or fixtures.
Important areas requiring waterproofing include:
- All walls inside the shower enclosure from floor to ceiling
- Areas around the shower valve and any penetrations for fixtures
- Corners where walls meet the shower pan or curb
- Window locations if your bathroom includes a window in the wet area
- The curb or threshold that contains water within the shower space
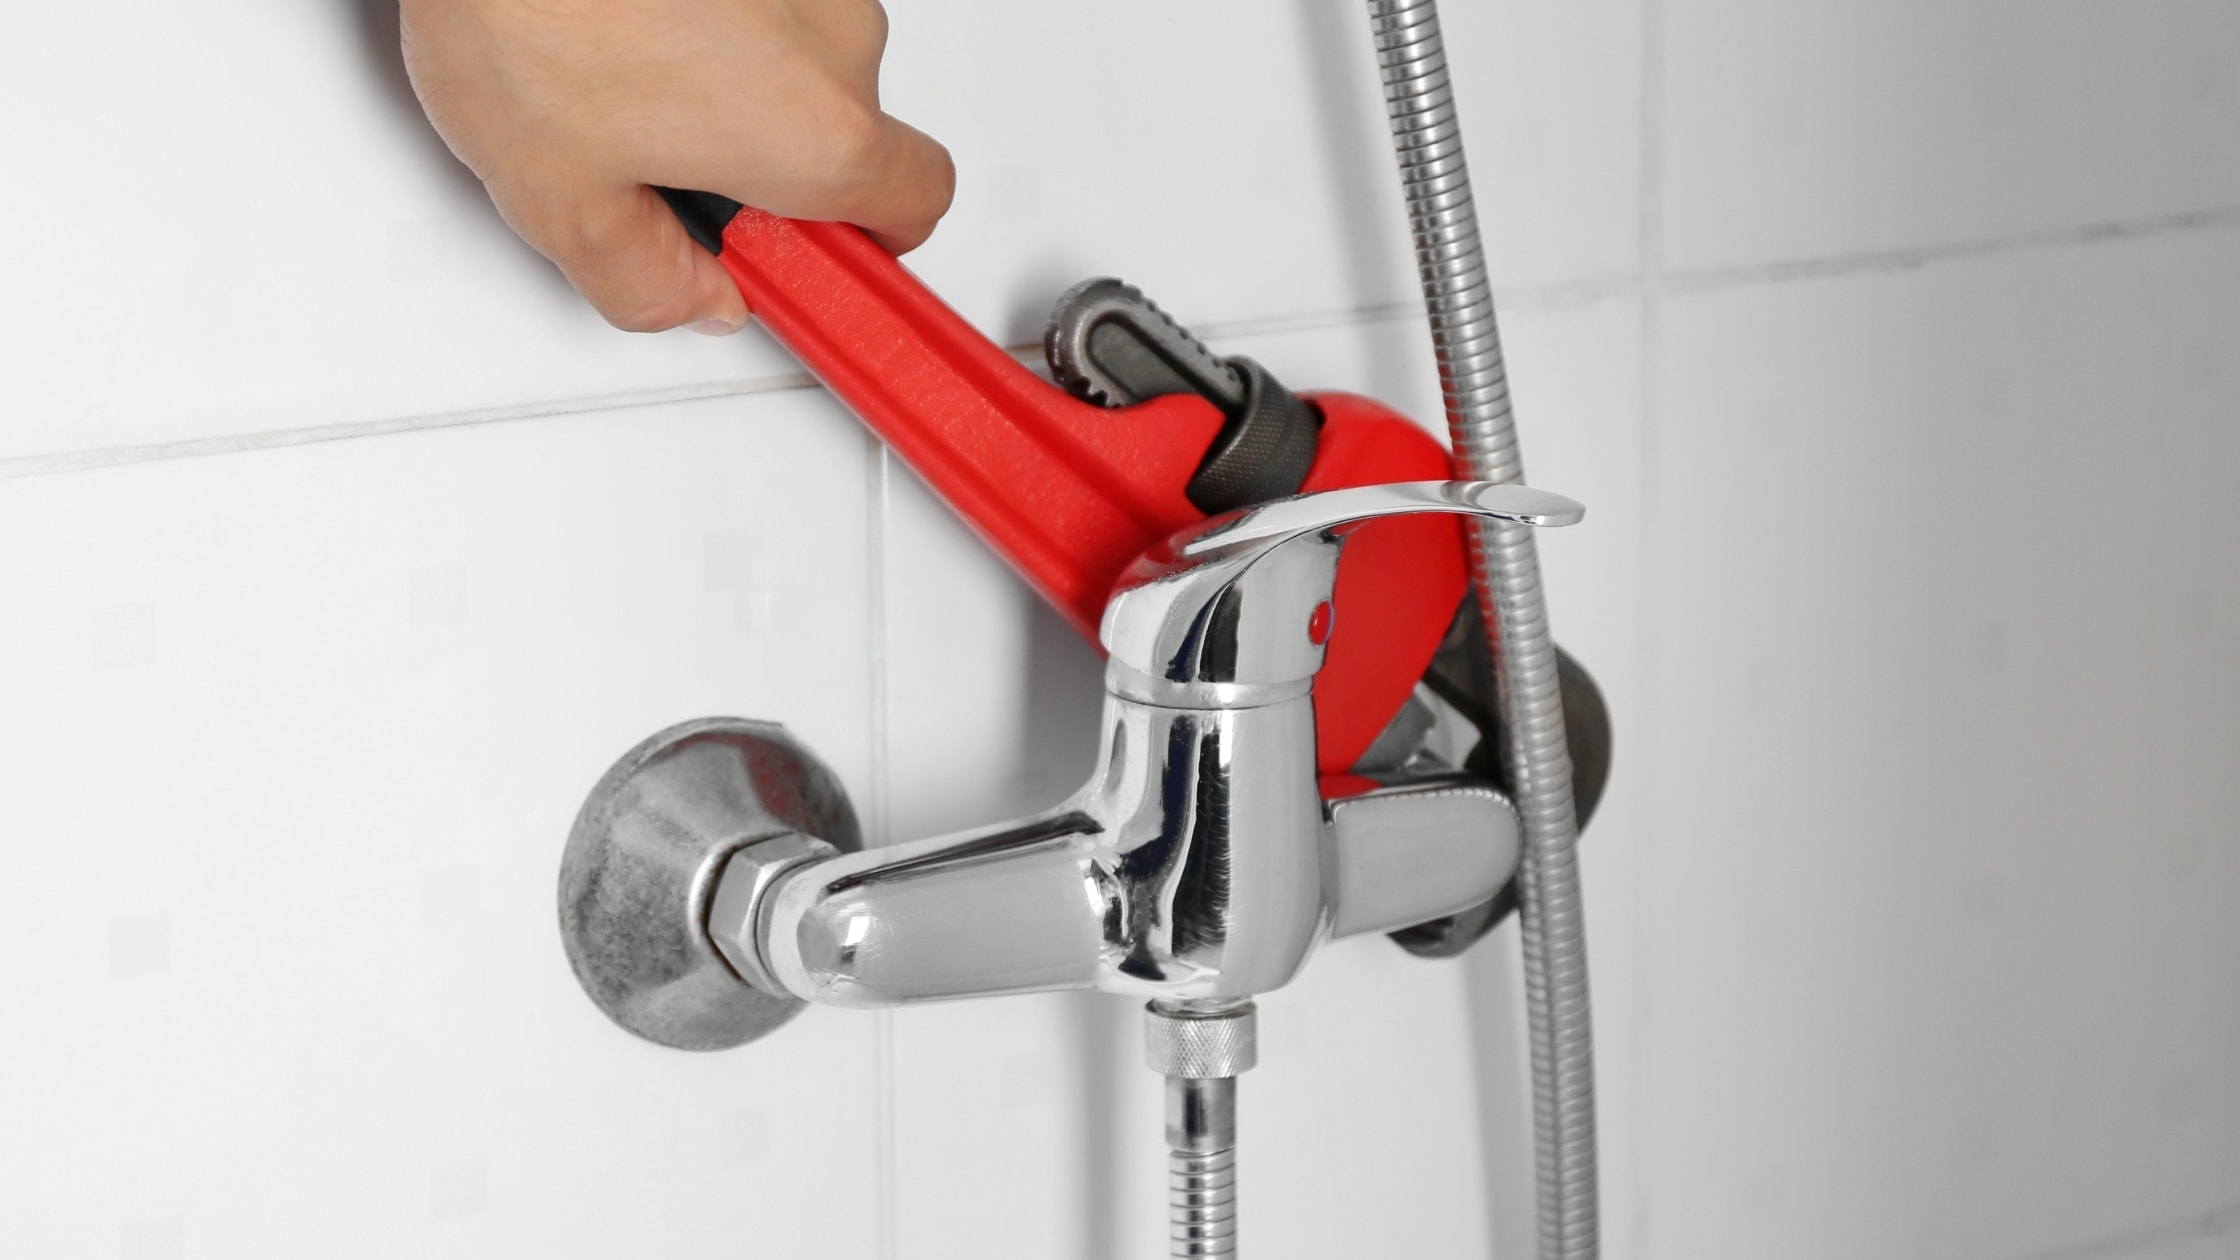
Professional contractors pay special attention to penetrations where plumbing fixtures enter through shower walls. These locations require careful sealing to maintain a continuous waterproof barrier. Common mistakes during conversion projects often occur at these critical connection points.
Working with Schluter Systems Products
Schluter Systems dominates professional shower waterproofing with comprehensive product lines designed to work together. Their engineered approach eliminates guesswork and provides tested solutions for every component of shower construction. Contractors appreciate the consistent quality and detailed installation guidelines that Schluter products offer.
The Kerdi membrane system includes specialized components for challenging areas. Kerdi Band provides preformed corners and seam reinforcement. Inside and outside corner pieces simplify installation at these crucial waterproofing locations. Pipe seal collars protect penetrations for the shower valve and other fixtures.
Schluter Systems products work together as a complete waterproofing system rather than individual components. The shower pan, wall membrane, and sealing products coordinate to create fully waterproof protection. This integrated approach provides peace of mind that all elements function together correctly.
Installation follows specific sequences outlined in manufacturer documentation. The company provides detailed videos and written guides that show proper techniques for every product. Following these guidelines ensures warranty coverage and optimal performance of your waterproofing system.
Seam Tape Application
Seam tape creates watertight connections where membrane sheets overlap. This reinforcement prevents water from penetrating joints between pieces. Proper application requires pressing the tape firmly into thin-set mortar while eliminating air pockets that could allow moisture penetration.
Working with seam tape demands attention to temperature and humidity conditions. Materials bond better in moderate temperatures without excessive moisture in the air. Using a straight edge helps achieve flat, smooth tape placement that enhances bonding and creates reliable seals.
Managing Moisture Problems in Wet Areas
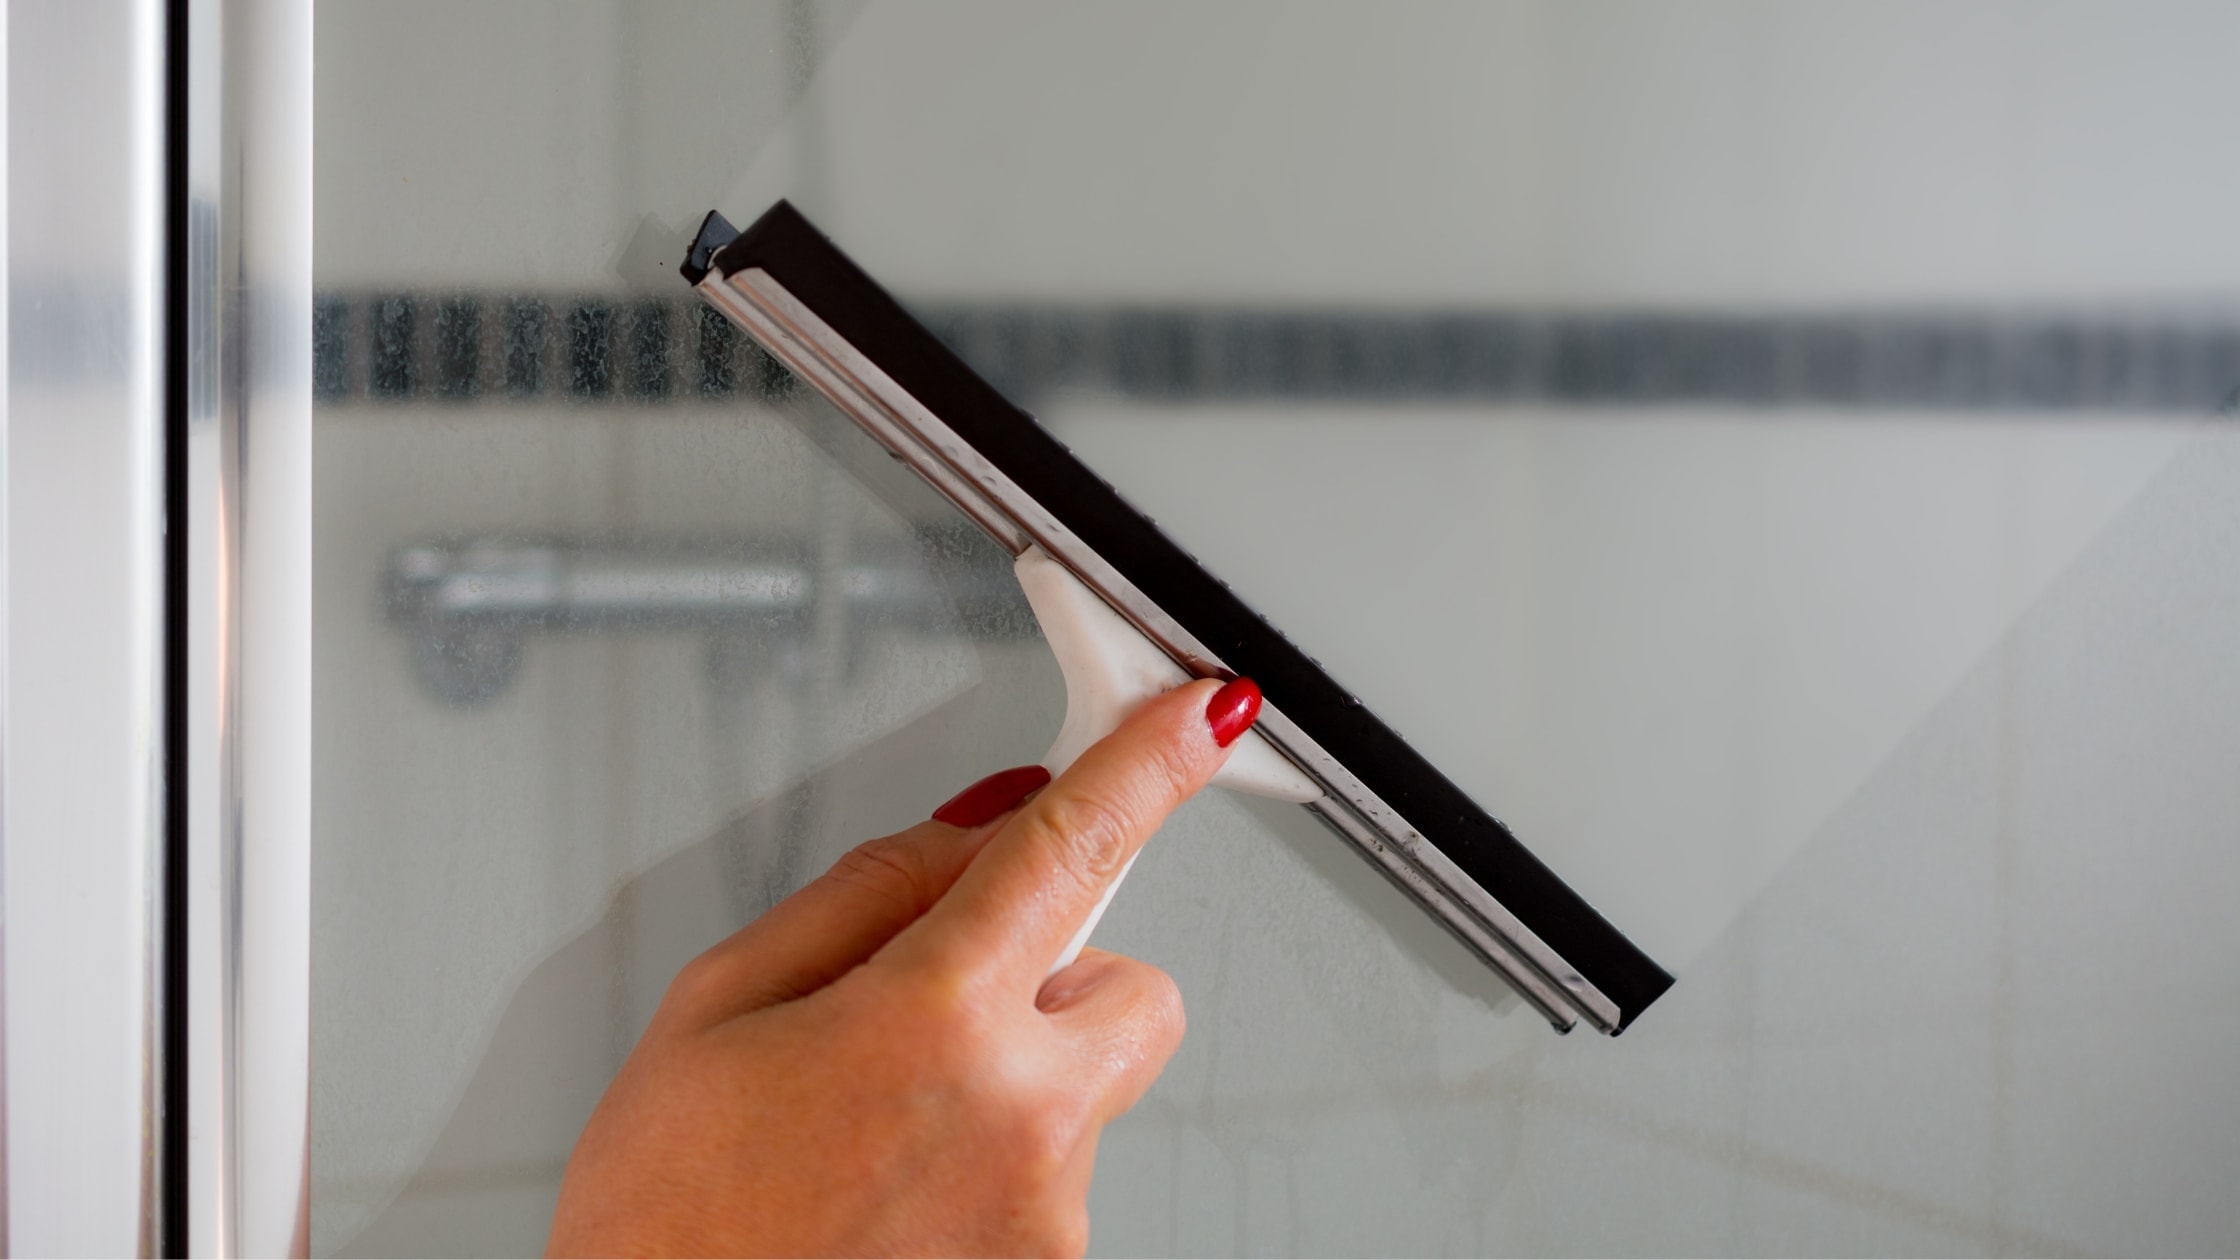
Wet environments in bathrooms create conditions where moisture accumulates rapidly. Steam from hot showers raises humidity throughout the room while direct water contact saturates surfaces. Proper ventilation works alongside waterproofing to control excess moisture and prevent problems.
Mold and mildew growth begins when moisture persists on organic materials. Waterproofing creates a barrier that keeps water away from vulnerable wood, drywall, and insulation. However, surface moisture still requires management through adequate airflow and regular cleaning.
A well-designed bathroom includes ventilation that removes moisture-laden air before condensation forms on surfaces. Installing a quality exhaust fan rated for your bathroom size helps maintain healthy humidity levels. Run the fan during showers and for at least 20 minutes afterward to extract maximum moisture.
Light entering through a window or skylight helps dry surfaces naturally. Natural light inhibits mold growth and creates an environment less favorable to moisture problems. If your bathroom lacks windows, ensure artificial lighting provides adequate illumination for cleaning and inspection of wet areas.
Avoiding Expensive Repairs Through Proper Installation
Water damage repairs cost far more than initial waterproofing materials and installation. Moisture that reaches structural elements requires removing finished surfaces to address underlying problems. The job involves tearing out tile, replacing damaged framing, and rebuilding shower components from scratch.
Professional installation eliminates common errors that lead to costly repairs. Experienced contractors understand how materials interact and where failures typically occur. They follow manufacturer specifications precisely to ensure warranty coverage and long-term performance.
The initial investment in quality waterproofing materials and skilled labor protects your home value. Cutting corners on materials or rushing installation creates vulnerabilities that develop into serious problems. Taking time to properly waterproof your shower prevents expensive repairs and extends the life of your bathroom renovation.
Homeowners planning a walk in shower conversion should consider professional installation for waterproofing components. While some aspects of bathroom remodels suit diy approaches, waterproofing requires precision and knowledge of building science. Safety features in your new shower combine with proper waterproofing to create a bathroom that serves your household reliably for decades.
Selecting Materials for a Tile Shower
Material selection influences both waterproofing effectiveness and aesthetic results. Porcelain tiles resist moisture absorption better than ceramic options and provide superior durability in wet environments. Dense porcelain tiles maintain their appearance longer and require less maintenance than porous materials.
The grout between tiles needs sealing to prevent moisture penetration. Epoxy grout offers better water resistance than cement-based products but costs more and requires careful installation. Quality grout sealers applied after installation protect cement grout joints from moisture and staining.
Large format tiles reduce the number of grout joints in your shower. Fewer seams mean less potential for water penetration and easier cleaning. However, larger tiles require perfectly flat substrate preparation to prevent lippage problems. Work with experienced installers who understand proper techniques for large format tile installation.
Coordinate your tile selection with waterproofing products to ensure compatibility. Some membranes bond better with certain thin-set mortars or tile types. Consulting product documentation or working with professional contractors helps avoid material conflicts that compromise waterproofing performance.
When to Save Money and When to Invest
Budget considerations affect every bathroom renovation decision. Smart homeowners identify areas where cost savings make sense and components that deserve full investment. Waterproofing materials and installation fall firmly in the invest category because failures create expenses far exceeding initial savings.
Premium waterproofing products often cost only moderately more than basic options. The price difference proves insignificant compared to potential repair costs from moisture damage. Investing in proven systems from established manufacturers provides peace of mind and reliable long-term performance.
Professional installation represents another worthwhile investment for waterproofing components. Skilled contractors complete installations faster and more reliably than inexperienced homeowners. The labor cost saves you time and reduces the risk of errors that compromise waterproofing effectiveness.
Areas where you can potentially save money include decorative tile choices, fixture finishes, and accessories. The cost difference between standard and luxury tile affects aesthetics without impacting waterproofing performance. Focus your budget on the invisible protection systems that prevent water damage while selecting finishes that match your preferences and budget.
Frequently Asked Questions About Shower Waterproofing
How long does shower waterproofing take to install?
Professional installation of a complete waterproofing system typically requires two to three days including drying time. Sheet membrane systems can be installed in one day but need 24 hours of cure time before tile installation. Liquid membranes require additional drying time between coats, extending the schedule by one to two days. The time investment proves worthwhile because proper curing ensures maximum waterproofing effectiveness.
Can I install waterproofing over existing tile?
Some waterproofing systems allow installation over existing tile if the surface remains firmly bonded and level. However, removing old tile usually provides better results because it allows inspection of underlying materials for damage. Starting with a clean substrate ensures proper bonding and eliminates hidden problems. Consult manufacturer guidelines for your chosen waterproofing product to confirm whether existing tile provides a suitable substrate.
What causes waterproofing failures in showers?
Common failure points include improperly sealed seams, inadequate coverage around penetrations, and skipped corners where walls meet floors. Using incompatible materials or ignoring manufacturer installation instructions also compromises waterproofing effectiveness. Poor substrate preparation prevents proper bonding of waterproof membranes. Hiring experienced professionals or carefully following detailed installation guides helps avoid these pitfalls that lead to moisture damage.
Do I need different waterproofing for walls and floors?
Most comprehensive waterproofing systems use the same membrane products on walls and floors with specialized components for transitions and corners. Floors require shower pan systems that manage drainage while walls need vertical application techniques. The waterproof membrane itself typically works on both surfaces when installed according to manufacturer specifications. Coordinated systems ensure all components work together without compatibility issues.
How far should waterproofing extend beyond the shower area?
Building standards recommend extending waterproofing at least six inches beyond the shower enclosure on all sides. Some jurisdictions require protection up to the ceiling throughout the entire bathroom. Check local building codes for specific requirements in your area. Extending protection beyond minimum requirements provides extra insurance against moisture problems, especially near tubs and around bathroom fixtures that generate humidity.
What maintenance does shower waterproofing require?
Properly installed waterproofing membranes require no direct maintenance because they remain hidden behind tile. However, maintaining surface grout and sealant protects the waterproofing system from exposure. Reseal grout joints every one to two years and inspect caulk around fixtures annually. Address any cracks or deterioration promptly to prevent moisture from reaching the membrane layer. Regular cleaning prevents buildup that could hide developing problems.
Which waterproofing method works best for walk in showers?
Walk in shower designs benefit from integrated systems like those offered by Schluter Systems that combine shower pans with wall membranes. Curbless installations require especially careful attention to waterproofing because water can travel further from the shower head. Foam board systems or sheet membranes both provide excellent protection when installed correctly. The best choice depends on your specific layout, budget, and installer experience with different products.
Protecting Your Investment Through Quality Waterproofing
Converting your tub to a modern walk in shower creates a beautiful, functional bathroom that serves your household for decades. Proper waterproofing ensures this investment remains protected from moisture damage that compromises structural integrity and requires expensive repairs. The materials and installation methods you choose determine whether your shower stays dry or develops hidden problems.
Modern waterproofing systems from manufacturers like Schluter Systems provide tested solutions that professionals trust. Whether you select sheet membranes, liquid membranes, or integrated foam board systems, following manufacturer guidelines ensures optimal performance. Attention to detail during installation creates seamless protection that prevents water from reaching vulnerable materials behind your tile surface.
New Wave Home specializes in bathroom remodels that balance efficiency with quality craftsmanship. Professional installation eliminates guesswork and provides peace of mind that your waterproofing system will perform as designed. Investing in proper materials and skilled labor protects your home value while creating a shower you enjoy using every day.
The hard work required to properly waterproof a shower pays dividends through years of trouble-free use. Taking shortcuts or using inadequate materials creates problems that surface months or years later when repairs become far more costly. Understanding waterproofing essentials helps you make informed decisions that protect your bathroom renovation investment for the long haul.